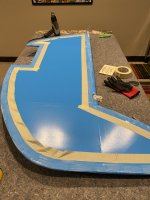
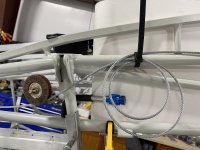
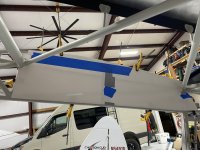
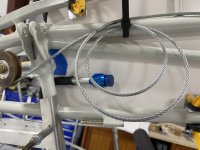
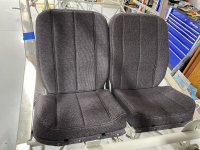
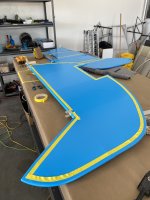
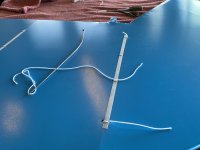
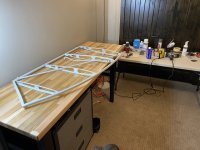
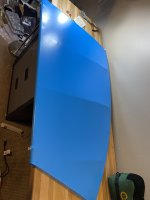
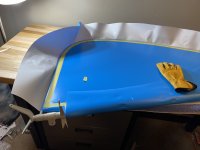
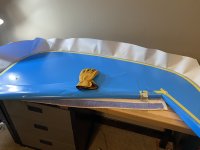
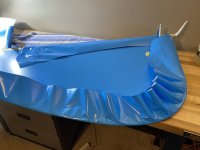
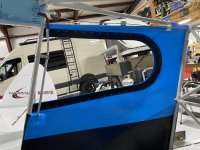
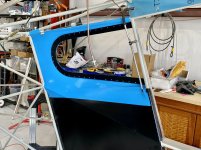
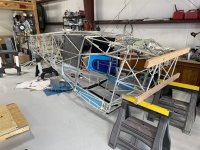
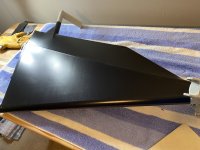
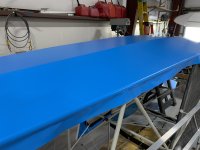
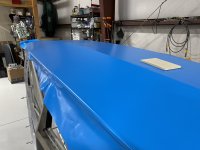
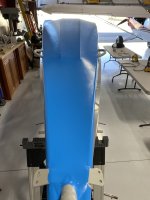
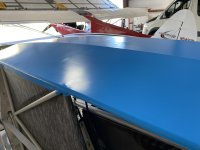
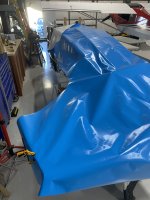
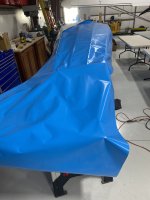
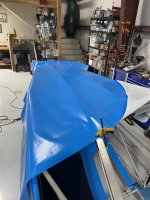
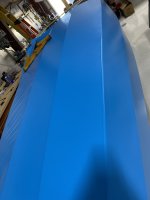
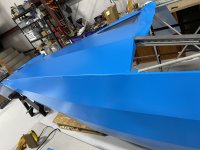
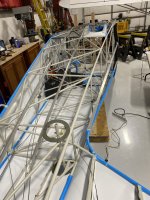
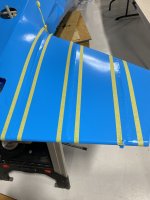
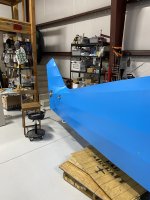
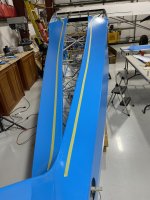
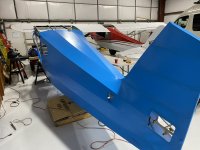
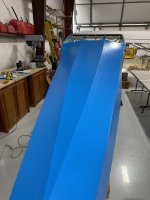
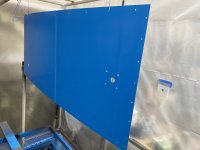
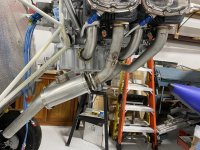
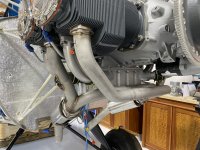
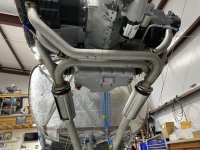
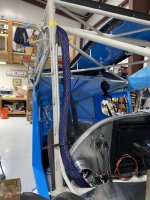
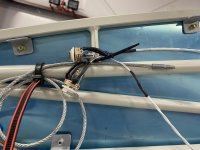
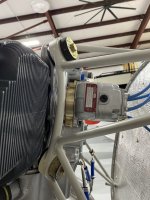
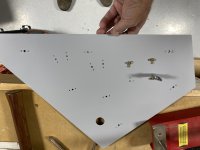
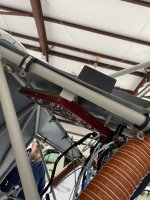
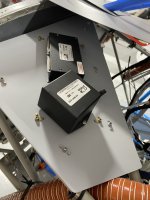
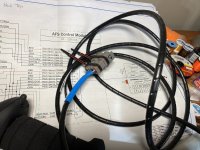
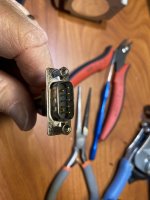
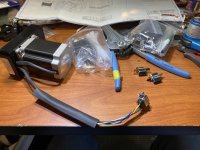
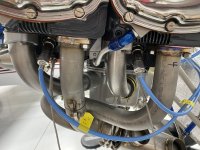
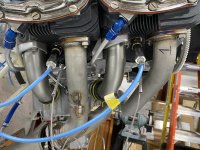
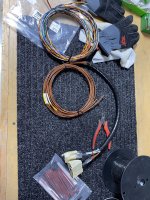
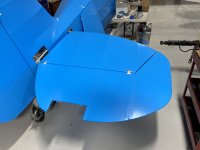
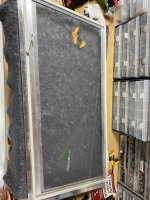
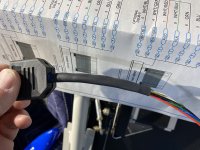
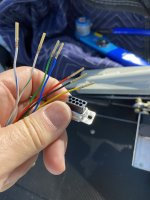
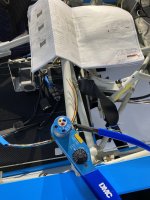
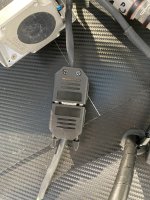
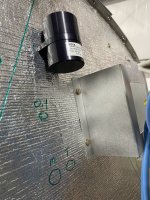
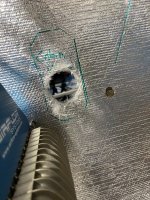
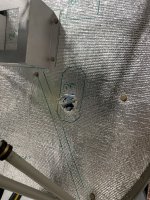
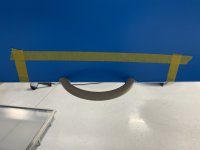
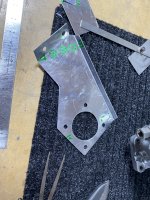
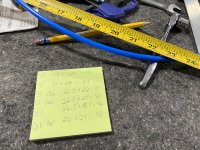
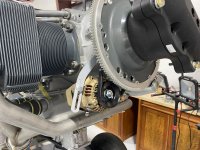
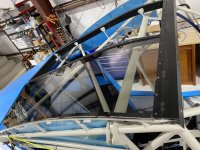
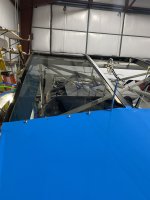
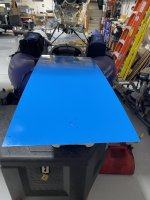
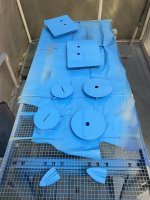
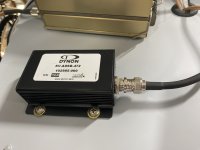
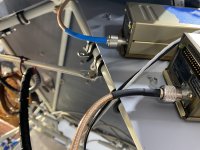
Kit #7 arrived

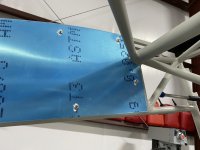
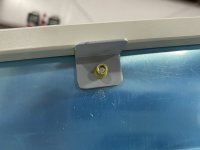
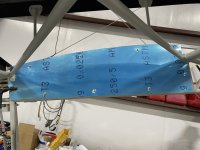
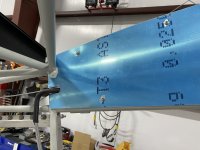
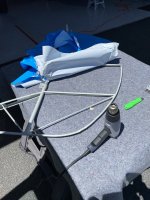
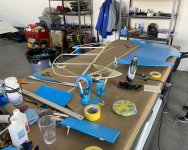
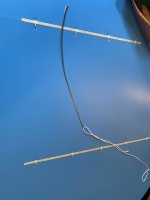
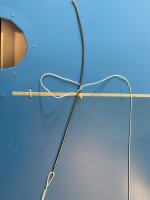
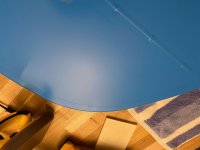
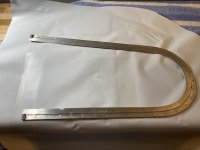
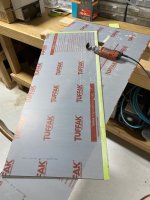
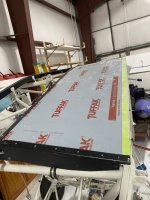
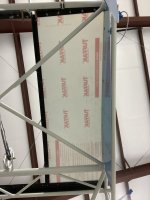
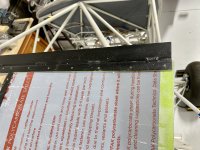
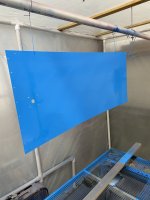
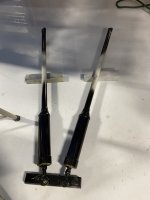
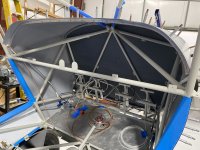
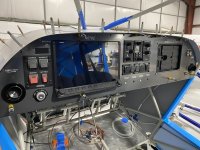
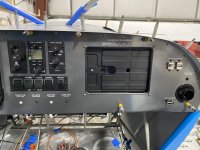
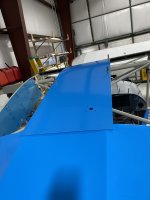
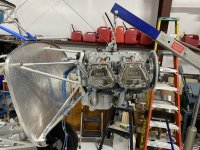
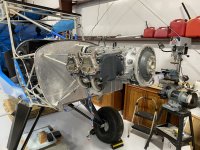
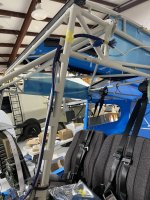
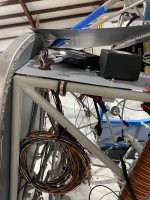
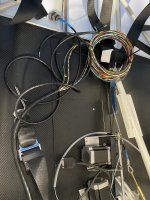
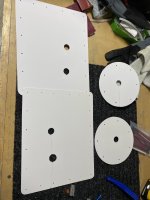
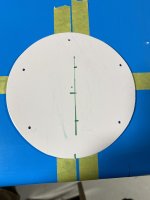
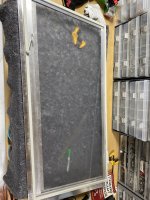
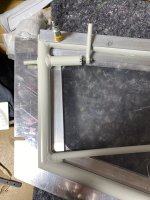
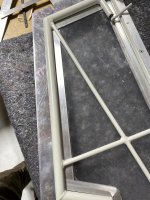
Who would have thought it would take six and a half hours to make/fit/install two mounting plates. The stringers are not parallel so that added time. I used angle aluminum at the front and back of each shield to make them extremely stiff. I ran out of time, so the GPS plate/shield still needs to be riveted to the stringers.
D5CD7B81-2FE9-4F4B-86C1-772C2EB4BFDB.jpg8EFB94CB-23D1-4597-B437-772F01939DCC.jpgC2FE9CA8-D040-4AAA-B189-379387354793.jpg84F2C306-6056-4B90-8382-C35977AA48CA.jpg I am on the final stretch prior to jumping full blast into the covering phase.
 
Got back to work this week after being out of town for the past 3 weeks working.
I did some wing root panel work, lots of measuring and cutting to get the template just right. Then transferring to .025 and working on the cutouts.

510A39D6-2435-4DB9-AC76-EDAF2883C647.jpgA10E0F32-76FB-42D5-A745-E6484D1EACC8.jpg83ACDC20-0FF3-4384-A7CA-7762020613A8.jpgDDF3FC05-AEE6-46CE-B79D-4A96485EE492.jpgF848AC81-99F7-49B3-8F35-F4F05648E4C0.jpg5C5DBFB7-764B-44A2-9D54-899A27E6ACBD.jpg
 
Finished the wing root panels… Well I still need to do the sight gauges and headset jacks, but they are fitted and fit with ZERO pillowing EB7E869B-2909-4590-BF06-82B315EFB0EE.jpg3EF31EBD-7753-48E8-9EF4-B35286699B72.jpg80C67F51-C662-48E0-ABD7-5E29B8E62102.jpgB6EFA40D-710E-4E05-90BF-72EFB91CC150.jpg7A5E9EB6-196A-4AC9-BEA9-D35369504B29.jpg I also drilled the holes for the clamps to secure my brakes lines on the gear legs DD1D67A8-2F84-4EA0-BCCC-5AB0E8FEDEAC.jpg
 
Hmm, when you are not happen with how the fabric when on, removing fabric and cleaning off the glue is NOT fun. Fabric removal took a few hours, glue removal will take me a few days. 6E4479F9-12C2-4FE0-A072-8BB8446741CB.jpg
E242252C-5656-436C-90BE-2393104C6865.jpg

EC46DCAD-9283-43D7-8412-B6D48F335C9C.jpg
 
After my original diabolical with covering, I got a two day lesson on covering with Oratex. I finished up at home today after 27.5 hours the past two days. I learned when you think you are going slow, like REALLY SLOW….. you are still going too fast. The edges required attaching about 1 inch at a time. I was pretty frightened about rib stitching, but it was not that bad. Everything came out really well.
E402ED6D-8AE5-4F78-9183-3DCA4A747D74.jpg06E91576-1033-4C43-944F-250FEEDF028E.jpg34B56A58-E35C-481B-9CA1-D07AADF947BD.jpg03286439-F5F5-45E7-9791-BB7A8E4B22C9.jpgC2091DD9-1E9D-45C3-8D2D-39A68130DF97.jpg9D0605DE-920E-4D14-9080-0AF1789A315A.jpg8D35FC5C-6A4D-4CB1-83D6-7A1020DA800B.jpgEBCAC1BE-3417-45CB-A537-3B89E83271CB.jpg9DF36BA4-F1A6-46DF-B2FE-1EF7802E859C.jpg670E4529-6A0A-4237-83AB-2A6CFDE08522.jpg
 
I suppose practice makes perfect. Really, it doesn’t appear that you had to practice a lot to get your nice results. Perhaps the empennage is the most difficult part to cover, too.

Have you discussed anywhere your decision to build a Companion to replace a Rans S21 (if I have that supposition correct)? The Rans appears to be close to the Companion in performance and payload—lesser, but close.
 
Light&Sweet

I spent 24 hours and 38 minuted over two days learning to cover with Oratex from a “professional” fabric coverer. It was the best money I have spent so far on the build. There is absolutely zero chance I could have gotten the results I am getting without the help from Monika. She does the covering for RMK (Rocky Mountain Kitplanes), who are a Rans dealer. I will say that I can get impatient, I like to get stuff done, and I would have never dreamed of going so slow while covering. Based on what she told me, the only really challenge covering the fuselage is the curve of the empennage up the vertical stabilizer.

Bottom line it takes me about 10-12 hours of actual work to cover one piece of a tail feather. I have two to go, the right horizontal stabilizer is next, I hope to get it finished prior to leaving Monday for a 6 week work trip. That only leaves the rudder, gear legs and fuselage.

I will address the Companion vs. Rans in a different thread as it may create a thread string.
 
Before shrink and post shrink CB34C7AB-90D3-4A97-B4AA-A5A4B00AA64D.jpgF019C4FC-2BEF-4508-9107-F4849D38C41D.jpg

D1F00E74-1469-4A64-B817-9DF11905BB65.jpgFinished:
2 trim tabs
2 elevators
2 horizontal stabs

The oratex is looking better than I had expected

Off to work tomorrow for 6 weeks then it’s “Back to (airplane) work!”
 
This is what I do after 9 hours and 45 minutes of doing tapes on ONE horizontal and the rudder. I decided to stop for the day, but have about another hour on the rudder, both straight tapes so super easy and they can wait for tomorrow
5BF62C4E-E975-41E7-ACD0-CA9072A70DC4.jpg
 
This has kept me up at nights for the past few months… Well maybe not every night, but I was very concerned about the tape on the rudder on the curves. The BH rudder has a sharper curve than the cubs, so this was a huge challenge. Hey, it is a home built plane, but I give the tape on the rudder curves a 97.5% grade
F3389998-BB90-4DE0-8508-BBB76A28AB61.jpg
 
Yesterday did templates for the two skylights.

Bundled up wiring from the tail area today trying to get everything ready for covering after my next long work trip

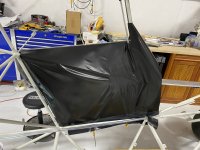
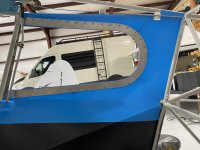
I have been trying to get my head around the covering/lining of the cargo area sides. I have a plan now, so brought home the outside half of the left window frame to attach the fabric to the frame. I am happy how this turned out, just note it is not shrunk/final fitted so it looks a bit messy at this time. 2382DA11-7963-470E-93A1-E0C64307D093.jpg58261EB0-C01E-4265-ACE5-F83F48C0FAF4.jpg7FCA2A53-A933-4668-A23B-40E48EF51FE9.jpg375E6866-71DA-4CBF-B8E6-2A19E2B905E2.jpg
 
Some days you are the bug, some days you are the windshield…. Today I was the windshield

I measured, measured, and measured, then…..

Yep today was skylight day. Right wide was perfect for width, but needed one trimming cut after the initial cut. Left side required two length trims, but both are fitted. It was surprisingly easier than I thought, I was expecting the worst with the compound curve.

9BC45B51-812A-474F-9040-0C8A983C85C7.jpg91EC44E0-53DC-4FF4-A8E6-833AB02AE402.jpg89241CEB-89E4-4956-96D2-EE3C08A6BA17.jpg16AA720E-D1CC-422F-BBFB-A79F8FE9A982.jpg04AF30A3-547E-49E8-9DC8-0A9CE2A99616.jpg9C181A63-AE1C-49B1-9269-205959BD6884.jpg59AF6791-1582-4A42-9EF9-69974606A6BF.jpg
 
Today was a left side cargo covering day. I had planned on doing the window too, but an unscheduled trip to the ER which cost me 2+ hours. But I did go back to the hanger… Damn plane is not gonna build itself 90E38299-CEAD-4C3F-A21F-D193B0DD0500.jpgF056112B-8FCB-4601-9E32-1F38E33A4B5F.jpgAAF3EF67-3F04-49D2-93A4-F9B8BFCAA9CF.jpgD1E9B4E1-4F38-4830-B45C-43109E46E8C1.jpg47AF8BB8-5B6C-4F22-952E-9C66E2DF65C2.jpgB425C6CF-4CA9-4E8F-A1FA-C3DC9C2BFDF4.jpgBDA432ED-CC3D-4E17-9826-BCE596EFA178.jpgF4FEA900-5F5D-4D2A-86E7-612A02023334.jpg

Photos posted in chronological order :D
 
Planes don’t build themselves. I was not gonna let an unscheduled trip to the emergency room stop me from getting my day’s work done.
 
This little gem proved to give me lots of fits prior to finally coming up with a plan. I had many different ideas on how to make this look as clean as possible even though it is very well hidden behind the tire.

BC696647-E60D-4518-BC50-66EAD7997C27.jpgB1D2A6C2-2C4B-48A4-A1B2-5D7319EB8936.jpg
 
Today was an amazing day, I started covering the fuselage. Eric aka @Uintabearhawk from nearby Kamas came by to lend a hand which really helped. I got 70% of the bottom covered today, well it is all covered, but not all shrunk and fitted to finished product. Probably 2-3 hours more tomorrow then I start prepping the right side. Click image for larger version  Name:	39F4457D-4B08-4A13-A2A2-DB86B4C4A673.jpg Views:	0 Size:	2.04 MB ID:	78321Click image for larger version  Name:	0B67BE18-41FE-41B1-84B6-0466A95B046A.jpg Views:	0 Size:	1.78 MB ID:	78322Click image for larger version  Name:	39F4457D-4B08-4A13-A2A2-DB86B4C4A673.jpg Views:	0 Size:	2.04 MB ID:	78321
 
Last edited:
Today was really about putting things back together. Had to remove the plastic from the boot cowl, then used scotchbright followed by self etching primer in prep for reassembly.​
571BB8D4-934B-4949-A559-9820C99EDA92.jpg
4D983287-C90F-421E-98F2-5C18E27E7D70.jpg

All set up for the panel installation tomorrow… so then I got moving to get the engine to mounted…
93627AF2-F0EC-4F56-B1AD-F46541239AD9.jpg
DD4CE2E0-0CAA-45F9-918D-643F625875D9.jpg

Ran into a snag and will have to do some research before hanging the engine. :(
​​​​​​​
 
I suspect your head will fly off before the adel clamp breaks, I did look up the breaking strength of the 3/4” size and could not find it
 
Looks great. If I did my panel again I'd also mount the USB drives on the panel. Also like what you've done with the seat belts.
 
When I asked Bob about this he suggested a steel strap around the tube with a quarter inch diameter bolt. He said you can calculate the strength of the strap based on the steel strength PSI and the cross section area of the strap but it should end up around an eighth inch of total thickness. While there are different flavors of adel clamp (aluminum, steel), I don't think most of them will be anywhere close to the thickness Bob suggested.
 
Today was a very visual day

Hung the engine this morning, and for those looking closely I was lacking a bolt so you can see one is mount hole is not bolted in. But still a big step
AAAAC0FC-16AE-4FF6-9AE7-E2709E6BB378.jpg
C7C79B8A-C01C-433B-9F1F-EFAC1BF37614.jpg
330F9D8E-A642-4F5B-8EAC-EDA20AB4D7E4.jpg
Next up was the Vetterman exhaust. Upon opening the box I was like this is a jigsaw puzzle. But it was relatively straightforward
CAB711AC-6CA7-409D-9938-C157EFFA994B.jpg87723E20-DEAB-4232-B57C-B5ED17F7A262.jpg
61384CFC-CA53-4EB6-8137-CC0875CA0C50.jpg
4FA57079-4BAA-421B-AC77-003DADEC939D.jpg

And…… If you have an engine, and if you have an exhaust you need a prop
470A707D-CCAC-47FD-974B-FFB09FED8A0D.jpg
AA6E3934-01AA-4E9F-9ADD-A8017BE2A6F3.jpg

The prop is temporary as I need to time/set a magneto

But it was a really cool day
 
Hmm, NACA holes in the boot cowl for “air conditioning”? Easy

A5D822F7-8305-4088-A82F-E08BCCD69709.jpg

Only took a few tools and files of various shapes. It was something I had been procrastinating about for about 5 days, but done now
 
I got brave and started working on wiring and avionics stuff.

Used the paper template to cut the two trays for the remote avionics boxes
03520A7D-AE11-478A-9916-C83186499431.jpg
DEA51272-09A3-4764-9B22-AB2651B30DAB.jpg


I clamped the trays in position to start checking for wiring harness length and reach.
0D95BA0E-D8B2-4904-8736-1C4E760B798C.jpg
6856D216-3AD9-48D8-A15E-7A16C1F9D8DD.jpg
Cut “conduit” for the wires/coaxial to run down the front of the doorframes. Ran the headset jacks through the conduit up so I can mount the jacks on the wing root panel. Ran the Comms coaxial down the same conduit to the right tray with the remote box
0B243A1E-3C0D-4011-9D08-E91457D6D9C0.jpg
A19F9511-071B-412C-9FCC-B59995B551E9.jpg
CEE4D9FF-EBB6-47A7-878E-59443E4813DC.jpg
Explored several places to mount the ACM (red box) and decided on under the left avionics tray
10E9E800-3B85-4DEC-B17B-D4845C06A61D.jpg
Spent a lot of time looking at wiring diagrams to try to get my head around this totally foreign task
 

Attachments

  • 5E1F5551-F112-47B0-8F97-50AD3DF1785D.jpg
    5E1F5551-F112-47B0-8F97-50AD3DF1785D.jpg
    2.2 MB · Views: 0
Really looking good. On a few occasions I emailed Dynon or Advanced Flight Systems. Turns out they have more diagrams on hand. The ones I needed were to integrate the ACM with the Vertical Power PPS. Just in case you don't find what you're looking for.
 
jaredyates

I never diagnosed a problem, just kept working it till it fit

Terry had hung three engines and he had never seen one so tough

Bill (whose hanger I’m building in) said he had to ratchet strap an engine mount when he built his Rocket
 
Last edited:
If this guide is not an industry best standard at hanging an engine, please advise of a better method.

https://vansairforce.net/articles/IllustratedGuideToEngineHanging/enginehanging.htm

Before using the guide I thought my engine mount was defective. Mark G. convinced me to just keep trying, then I came across this guide. I was alone, never hung an engine before, and got in done in several hours.

I've left my engine attached to the engine mount. With a hoist, I can attach my mounted engine to my fuslage in about 20 minutes.
 
Is problem solving progress? Because it seems as if I got nothing done/built today?

The past few days were spent on avionics trays and wiring
9449B3E9-9C34-4827-A4FE-E7DBAE81289C.jpg58DBD3D2-AE7F-42D4-AFD1-8F20F10E646C.jpg802599E2-7DD8-4EBC-B54F-EC6FBA857DC0.jpg20CA2B16-A2DC-4F3B-B2AA-0CAC0130D809.jpgC66B6796-DB23-4241-B2FA-AF0245DF6742.jpg91862782-095F-430E-806D-989ED2B36504.jpg802599E2-7DD8-4EBC-B54F-EC6FBA857DC0.jpg
 
Working on wiring. Sticks with quick disconnects done, both servos hooked up to the D-Subs.

Sadly photos are not in the correct order, but oh well
B0BB5595-75A0-4926-9FA7-96CB7D943C11.jpg
87896158-E77C-46D1-B985-2B224E33E691.jpg
ABD4B41C-F5EA-43B4-8852-3C439CB1D6E2.jpg
97E9397A-3101-410A-80D1-9E459A477BC3.jpg
99605DB5-51A4-432F-AF3A-E01BF691084B.jpg
B2A1046C-D655-46FC-BCE0-1A3C0906CDBB.jpg0D33BD65-F20C-4D0B-B32F-39D4B7D24F96.jpg
803B0737-5E4F-4FFA-938E-03625385BBDD.jpg
9EE0D3F3-54A7-4436-AE7E-94A883200969.jpg
 
Working my way through the wiring process
On the 3rd version of stick wiring, but all set now, just need to add the connectors
AP Server harness is laid out, just need to finalize the exact routing so the D-Sub can be attached
Left avionics tray is all set with items “permanently” attached (nutplates) and ready for the tray to be final attached
Engine monitor harnesses are plugged in and through the tray ready for the firewall pass through
Horizontal stabilizer inspection covers are all final fitted and ready for paint​

Click image for larger version  Name:	2EF47B48-9B0D-408A-A573-94BFBE40B465.jpg Views:	0 Size:	2.27 MB ID:	80060
Click image for larger version  Name:	B3C58B5A-8B5B-4C15-A04F-3332F7945189.jpg Views:	0 Size:	2.19 MB ID:	80061
Click image for larger version  Name:	829690E6-ADAD-4C50-8049-18FED7B60A1D.jpg Views:	0 Size:	2.79 MB ID:	80062
Click image for larger version  Name:	45AD52DA-0F29-47C7-B762-D2A42A04E9AF.jpg Views:	0 Size:	2.31 MB ID:	80063
Click image for larger version  Name:	4492CA65-A62A-4EE1-AE17-C1824829F693.jpg Views:	0 Size:	4.45 MB ID:	80064
Horizontal inspection covers are all final fitted and ready for paint
Click image for larger version  Name:	E1971E00-F264-4F4E-87A0-9E0054E52393.jpg Views:	0 Size:	2.11 MB ID:	80065
 
Last edited:
I am currently changing my Mustang's wiring over to Deutsch DTM connectors. Next time I am only going to use the DT series. The connectors so neat & clean. Your connectors look like they are professional assembled. Nice job
 
Still working on wiring: Cut hole in floorboard under right seat to all the routing of the PTT wires from the control stick to pass down and forward as well as the AP Servo wires to pass up to the servos. Installed the Servos in the brackets and secured with safety wire.


wAAACH5BAEKAAAALAAAAAABAAEAAAICRAEAOw==
​

wAAACH5BAEKAAAALAAAAAABAAEAAAICRAEAOw==
​
wAAACH5BAEKAAAALAAAAAABAAEAAAICRAEAOw==
​
wAAACH5BAEKAAAALAAAAAABAAEAAAICRAEAOw==
​
wAAACH5BAEKAAAALAAAAAABAAEAAAICRAEAOw==
​
wAAACH5BAEKAAAALAAAAAABAAEAAAICRAEAOw==
​
 
Somehow I lost the covers for the trim actuating lever, so I remade them… Better than before :)

1F4273F3-B93B-4E25-87A3-F6B70107FFD6.jpg
39E07BE0-12D8-4619-A12E-1471A29795FD.jpg05816BCB-3CE5-4D66-856F-5E4BD96EDAFB.jpgF4FBFC78-F931-459E-94E0-5DF968FA3D96.jpg53D37408-97DA-4771-B90B-F30EB8B530B1.jpg

Laid out the PTT wire routing, installed a grip tie tie down to secure the wires/tubes to the deutsch connector. Installed the male deutsch connector to the pilot and co-pilot PTT wiring. Triple shrink wrapped the wires leading to the deutsch connector. Secured the roll servo harness wire to the tie down. Safety wired the connection to the roll servo
80FCDBA4-8952-4E7B-A71F-AC999784785B.jpg9A30D9BD-8B2F-4D46-A911-FBE16137B3D9.jpgF7D90598-E8FA-41F1-8BAD-6785D31A1C0F.jpg398AFF4F-0617-42D4-A509-F761848CDF15.jpg
 
After weeks of procrastination… Used flat aluminum 1/16” to create a window frame to sandwich the window. Top swing up doors were fairly easy, bottom door was much more difficult with lots of angles. I did the top two and the bottom left door
07ACD491-41C7-4BB8-8803-1E07BC4F9CB8.jpgCFED59CB-B2B3-4C8D-AC9F-692C561B0454.jpg83D7896E-7CA8-4AF5-A7F8-C34BC5905573.jpg72C3E27F-A015-4825-B96A-85E5500EE996.jpg07ACD491-41C7-4BB8-8803-1E07BC4F9CB8.jpgBA82B90D-08B7-4DEC-BE61-0D683C04964F.jpg

Wired the D-Sub plugs at the servos, secured the wires and connected. Shrink tubing goes into the D-Sub plug and has another layer that terminates at the plug housing.

70975647-B638-4480-87E9-19A03BA2B65E.jpgE32B880E-33A4-48BA-942B-9F0BEA38D235.jpgBE436BA0-3D17-4635-AAEA-181917F47F86.jpg29640F3E-43AB-4D83-874B-E6A886F4B766.jpg45933EEF-3683-46F1-B9E7-F857282D5991.jpg82DB33ED-81EC-41BB-A006-980292F0D349.jpg
 

Attachments

  • B8B4EA8F-1F6A-4A60-AE76-F0ED6056433F.jpg
    B8B4EA8F-1F6A-4A60-AE76-F0ED6056433F.jpg
    2.4 MB · Views: 1
Lots of little things have been done the past few days, but nothing big until…. Today I had to start drilling a bunch of holes in a perfectly good firewall.
Brake fluid reservoir
Battery box
Cabin hat pass through

And yes I need to clean up the cabin heat holes, just ran out of time.

Click image for larger version  Name:	E93F96E1-9802-4834-B296-BC84BD75E48D.jpg Views:	0 Size:	2.84 MB ID:	80292Click image for larger version  Name:	C4B4649F-679E-4F23-B514-8C0265F2FB58.jpg Views:	0 Size:	3.68 MB ID:	80293Click image for larger version  Name:	679CDEAD-D1DC-4679-AD71-A47BD946EB7F.jpg Views:	0 Size:	4.33 MB ID:	80294Click image for larger version  Name:	E93F96E1-9802-4834-B296-BC84BD75E48D.jpg Views:	0 Size:	2.84 MB ID:	80292
 

Attachments

  • E9201C9A-EC75-40BD-AB94-FE67F90176DD.jpg
    E9201C9A-EC75-40BD-AB94-FE67F90176DD.jpg
    3.4 MB · Views: 0
Last edited:
Had to adjust the battery box as it flexed inward on the sides (note to others: measure/fit box with battery in it before drilling firewall), luckily it only required a very small adjustment
70971BBB-1087-4F45-8EDF-418BDC217F10.jpg
Finalized the fit, drilled and installed both cabin heat pass throughs
A14C2D3A-BF5D-45ED-8273-5D1B9CCD2ADE.jpg6FAA0C77-7676-44B0-9ED1-9B14114C4220.jpg

Decided I needed some reinforcement in the handle areas, used a 3” tape
4C231AB6-5D60-4508-A75D-BA5557C6655A.jpg552231F7-6B5B-43DD-82BF-CC967C91BE65.jpg
 
A slip and fall on some ice has curtailed my progress the past few days, but got some work done today.

TrueAirSpeed gave me a throttle/mixture cable bracket to attach above the carburetor…. Only it did not have the correct configuration. So it was a day of fabricating.

I used the Vans bracket as a template.
46598218-467C-423A-A4AF-4B1C38B2C69D.jpg

369D173A-28AF-4BB7-B9F5-5E4E6ED3492D.jpg

It’s night to have a brake and a shear to work with. The nice thing about fabricating my own is I got to set the angle just right for my setup.
193F435B-B72F-440F-ADE7-5AC3AB394AF7.jpgBA7BAAC7-BCCC-4B3A-8F3F-8ABF14D05DAF.jpg

Installed
0608A2DC-851A-4A5C-9248-405FAC6615DB.jpg Also did all the measurements to order my control cables.
Throttle
Mixture
Oil Plenum butterfly
Carb Heat
2 Cabin Heat
521DFB4A-2B7A-4E34-9E04-B25267876021.jpg
 
I have been working on the skylights the past few days as well as miscellaneous wiring. Today both skylights were installed with weatherstripping and nice tight fit using nylon washers on the bottom to put upward pressure of the weatherstripping/glass on the upper part of the window channel

E6DCB459-A6EF-48EF-949F-3FFCA7F2632C.jpgA9A2503B-D89F-4098-8D9D-851B6A225389.jpg1117168D-84DA-4991-A0F2-EE47DD4042CE.jpg

And there was some painting today too.
Firstly the metal center section of my overhead which is home to my GPS antennas is the front middle and the comm antenna in the right rear. This will get installed tomorrow.
A9E57F19-3E38-4E1A-AF44-FBF631DC8C08.jpg4ECED048-8998-4196-B3B9-BA2133930792.jpg

Inspection covers were painted. They are the same color but look different due to the lighting. They will just come home and remain off until after the DAR visit
3E20AF68-EF92-4919-A695-96C4A698CA8C.jpg

Coaxil cable ends were trimmed and the appropriate ends were installed and put on the corresponding avionics. Comms and GPS connections will be done as soon as here antennas are installed on the overhead.
 

Attachments

  • 7817E86E-7FBA-4460-8F82-83B313A8537E.jpg
    7817E86E-7FBA-4460-8F82-83B313A8537E.jpg
    1.9 MB · Views: 0
  • 345F1922-0720-497A-9D1A-FEA89DA2D55D.jpg
    345F1922-0720-497A-9D1A-FEA89DA2D55D.jpg
    2.1 MB · Views: 0
Back
Top