Bearhawk Aircraft Bearhawk Tailwheels LLC Eric Newton's Builder Manuals Bearhawk Plans Bearhawk Store

Announcement

Collapse
No announcement yet.

Horizontal stabilizer tough fit on carrythrough

Collapse
X
 
  • Filter
  • Time
  • Show
Clear All
new posts

  • Horizontal stabilizer tough fit on carrythrough

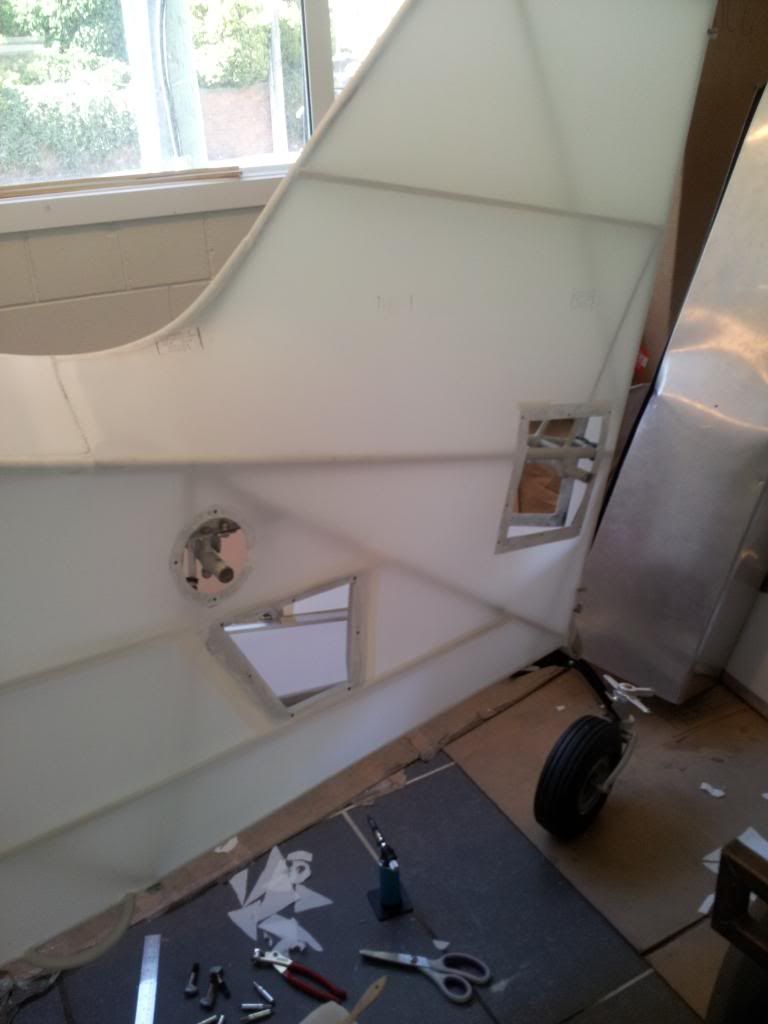
    This is an issue I've had with my kit, but I keep putting off dealing with it because my tail feathers are hanging on my shop wall most of the time. I started doing a dry fit of my flying wires and realized I need to address this.

    The issue is that when fitting the horizontal onto the front and rear carrythroughs, the front requires incredible pressure to make the pre-drilled 3/16" holes line up.

    Out of the box, my carrythrough was 18" long, while plans call for 16 3/4", so trimmed it down per the plans. Fit was a little improved but the horz still requires great sustained force inward to makes the through-bolt holes align. This has the effect of also applying a shear force to the AN4 bolts that hold the front carrythrough on.

    I've talked to one other kit owner who's had this problem. They stated that they just kept trimming the carrythrough length back, and then finally tapering the thick wall tubing a little. Bob notes on the plans that you can trim to fit, but how much is too much? I'm currently at about 16 3/8".

    It seems like another option would be to slot the 1/4" hole through the angle piece on the fuselage to allow the carrythrough to slide forward just a touch, hopefully alleviating the shear force on those vertical bolts. Those holes were predrilled at the factory. I'm not sure if the tight fit is a function of alignment or the fact that the leading edge of the stabilizer is so rounded, that it actually curves back inward at its innermost.

    I'd appreciate some thoughts.


  • #2
    They might have been match-drilled. It may be an obvious question, but did you try flipping them from one side to another?

    Comment


    • #3

      Originally posted by alaskabearhawk
      They might have been match-drilled. It may be an obvious question, but did you try flipping them from one side to another?

      I did. That's the first thing I did when I started on the kit, was to determine left and right. The carrythrough was marked right and left but the stabilizers were not. I did a plug and play and determined which fit best, though still not great.

      Comment


      • #4
        I cut mine a lot shorter to make it fit. I took advice from Bob / Mark before doing so.


        This is the best photo I have online, but it looks like it's over an inch shorter than your's Z.
        Last edited by Battson; 05-18-2016, 04:21 PM.

        Comment


        • #5
          My factory H-stab and carry through fit together fine. When I first put them together things were binding at either the front tube or back but that was an assembly error on my part. They have to be slid together evenly. My tube came cut according to the plans, 16 3/4".

          If it is springing back after pressure is removed then something is binding. Try sliding a H-stab on the front carry through tube but not the rear carry through tube. This will let you see if the tubes slide together far enough before binding on the curved leading edge. Then with the front tubes still together rotate the rear of the H-stab up till it is against the rear carry through tube and check alignment there.

          Untitled by Jon Whee, on Flickr
          Scratch Built 4-place Bearhawk. Continental IO-360, 88" C203 McCauley prop.

          Comment


          • #6
            You might also check the inside of the h-stab leading edge tube to see if it needs a little cleanout, but perhaps you already have. Mine are a tight fit also, and I also trimmed to the plans length.

            Comment


            • #7
              Check on how much edge margin you have on the hor stab tubes that slide into that center section piece. Maybe taking a little off there (if there is good edge margin) might help your situation. Mark

              Comment


              • #8
                Thanks guys. I'll report back.

                Jared, yes I did some honing/cleanout of the stab tubes early on to make sure it wasn't some chaff preventing a smooth insertion. Good thinking.

                Jon W, I hear you on the alignment of sliding the stabilizer on. It does bind easily.

                How big a deal is it to have this whole thing fit together with some static shear force? There'll be some on the AN3 holding the stab on, and some on the AN4's attaching the carrythrough to the fuselage. It seems worthy of making sure an even fit without too much static tension.

                Maybe I'll trim another 1/4" off each end of the carrythrough to see if it improves fit, per Battson.

                Mark G, are you referring to the thinwall tubing of the stabilizer leading edge? I just looked and there's 3/8" of margin. I think I'd rather whittle back the thickwall carrythrough.

                Comment


                • #9
                  Originally posted by Zzz View Post
                  How big a deal is it to have this whole thing fit together with some static shear force? There'll be some on the AN3 holding the stab on, and some on the AN4's attaching the carrythrough to the fuselage. It seems worthy of making sure an even fit without too much static tension.
                  Depends how much shear force there is.

                  The force vectors acting on those bolts are additive. So a component of the flight stresses will add to the pre-loaded shear stresses, creating a slightly higher combined stress on the bolts. Overall, it makes thing ever so slightly less-strong, but it's probably completely immaterial. Unless you are using a lot of leverage or a big hammer to assemble the parts, you will not be pre-stressing those bolts very much compared to their tensile strength (125,000 psi x 3.13 x 1/8^2).

                  Comment


                  • #10
                    I trimmed another 1/8" off each side of the carrythrough, and fit is somewhat improved, though it still really wants to shear the right side carrythrough attach bolts forward and the left side backward.

                    Comment


                    • Mark Goldberg
                      Mark Goldberg commented
                      Editing a comment
                      With the tail flying wires tensioned, it helps keep the hor stabs in place. I imagine it would reduce any shear load on the bolts. Mark

                  • #11
                    With no bolts attaching the carry through, does it slip well into the horizontal stabs? In that situation, how far off is the alignment of the carry through bolt holes? With that info, you might slot the holes, to allow for a relaxed fit. Then, make doublers (with proper bolt holes) that would go on top of the fuse fittings. Weld the doubllers in position and use longer bolts to accommodate the additional thickness of the doublers.
                    Or, just make a new carry through piece, with slightly offset bolt holes.
                    I'm a business major, not an engineer, but I really don't like the idea of forcing the fit, as much as you describe.

                    Bill

                    Comment

                    Working...
                    X