

 Tweet
Tweet
I have a huge amount of air entering the cockpit in front of the front door posts on both sides. I can not figure out where it is coming from. I know that I need to add some weatherstripping to the doors. There is a small amount of air entering behind the front door posts that will be fixed with weatherstripping. On cold days the air leaks overwhelm my heater vents which put out a fair amount of hot air.
-
-
My biggest air leaks came from the aft lower corner of each front window (the ones that open above the door). It blasted my back seaters and froze them on cool days. I put weatherstripping all around the windows which helped quite a bit.
Also, still, despite massive improvements a-la weather stripping I still need to dress for cold weather on cold days. I think of it as insurance for unplanned “layovers.” The interior wind factor is pretty good now though.Last edited by AKKen07; 02-04-2025, 10:25 AM.Almost flying! -
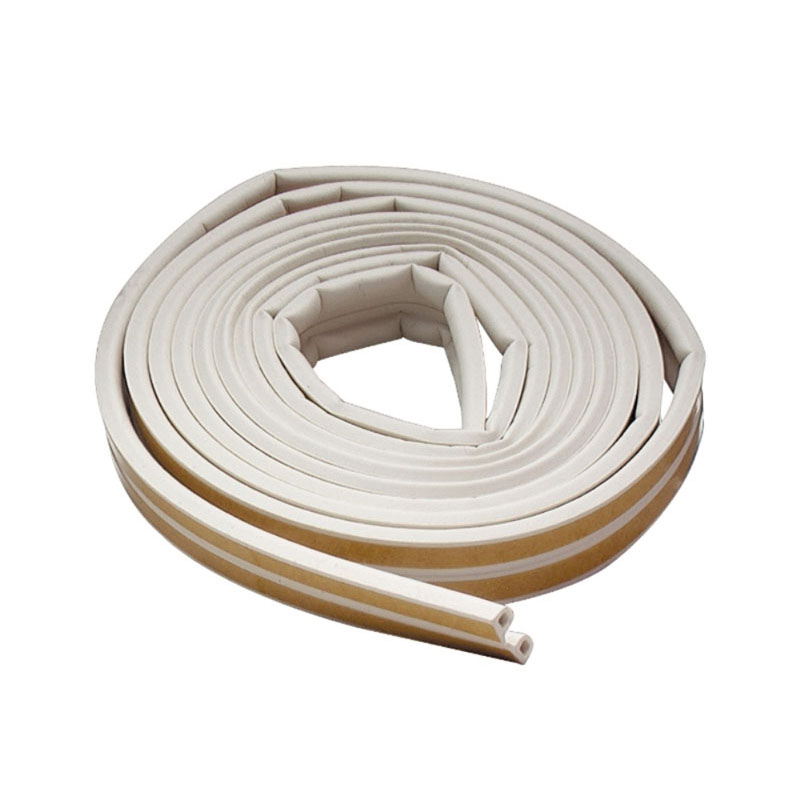
This stuff is available in P, D and E profiles. It is the best stuff I’ve used over the years. You can find it at most building suppliers too. If it is too thick for a lap joint, just move it back enough to seal the edge as the joint comes together.
Steve P203Comment
-
This is normal, you will need weather strips to make the cabin air and water tight. Otherwise the heater will not cope, and it is worse in the back seats, especially in winter at altitude.
You will probably want a brush-style strip between the window and door. Thin rubber "b" or "D" shaped rubber strip works well at the top of the window. The front will need a bigger D-extrusion rubber strip. Same story for the rear doors. The rubber strips are best used at the top of the rear doors as they will keep it water-tight.
Air also leaks in around the bottom of the strut, and if you only have a single skin i.e. the boot cowl, then you are going to get more leaks around the landing gear leg attachments. Having a fabric interior does quite a nice job of sealing away those air leaks.Comment
-
I think you might be right about the gear leg attachments. My cutouts in the boot cowl for the front gear leg attachments are larger than necessary. They are covered by the gear leg fairings but they don't make a perfect seal. That probably is where I am getting the big air leaks, really the only place that makes sense. I don't have fabric cover ahead of the front door posts, just insulation blankets. Air from the gear leg opening is most likely blowing in behind them and exiting where they meet the door post. I have weather stripping ordered for the seaplane style doors which seem to have much less air intrusion.Originally posted by Battson View PostComment
-
Rod, I find significant winter air comes in via the aileron pulleys as well.
There is different creative ways to seal the openings around doors and such, but a note to those flying in cool climates, time spent to limit the air infiltration is more valuable than time looking for more heat muffs.
On the cubs I had and the demo patrol, since they were all assembled, I also added a deflector lip over the “A-pillar” exterior trim, creating a low pressure area over the gap between window and A-pillar. This stopped the snow from blowing inside between my face and the panel.
But then, every good cub pilot carries a roll of painters tape in the winter, and tapes themselves in after the shutting the window. The trick is to create a trim and seal system that doesn’t require it.
pbComment
-
This product was shared a long time ago by a Canadian builder.
I sealed my side windows with it. My first flight was 14f. I had one of my heat boxes slam shut and not stay open due to low resistance on the push cable. The other works good, so with one heat muff on one exhaust I got enough heat to take off my coat, and feel the heat on my feet. I don't have my rat holes at the cable outlets sealed yet. I don't think snow can get into my cockpit from any window joint.
A pretty good method to make a seal for a Rat hole that is just filled with obstacles is to the following. Sandwhich between a bottom and top piece of 6 mil plastic a piece of fiberglass cloth. Squirt a blob of Permatex Ultra Black or another favorite silicone gasket maker onto the glass cloth, then with it sandwhiched spread out the silicone into the cloth with a spreader. When its nice and full cut the shape from the fabric that you want to use to fill that gnarly rat hole. The fabric will give and form around stuff not be a mess if you cut the cloth at a 45 degree angle to the fabric warp/weave. that is called a Bias Cut. It might adhere kind of tight ane be tough to remove. Maybe leave the area around the hole a bit oily or a coat of wax and it wont bond so well.
Gotta fix that darn push cable.Brooks Cone
Southeast Michigan
Patrol #303, Kit buildComment
-
The only weather strip used so far is the stock upper door (B model). Similar to the stuff Brooks used. 40 hours, winter time, no fairings, I am surprised how little cold air is getting in. I have both heat muffs for the cabin (1 a defogger, no carb heat). 1 heat muff partially open is all I need at 30F. I am surprised the pulley openings aren't much worse.Comment
-

Comment